How to connect the USB JP1 cable to your computer
From TIAO's Wiki

10 PCS, 10cm x 10cm, 2 layers prototype for $38.80 shipped!
Buy Communication Cable for Universal Remote Controls from http://www.easymg.com or http://www.diygadget.com
Connect USB JP1 cable to your computer
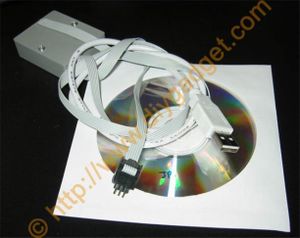
- Open the package, you will find the following items: JP1 USB interface, 6 pin male header. The driver can be downloaded from http://www.tiaowwiki.com/download
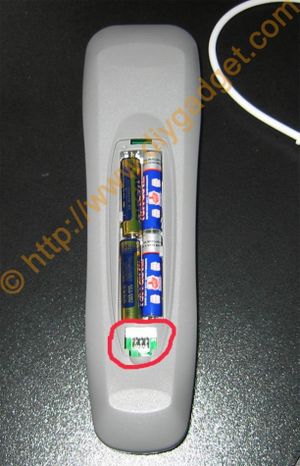
- Locate your universal remote control's 6 pin header. Usually you will see it after you remove the battery cover.
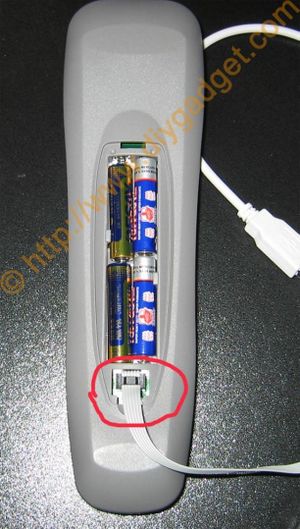
- Plugin the 6 hole female header to your remote's 6 pin header.
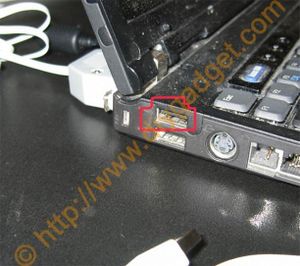
- Locate the USB port on your computer.
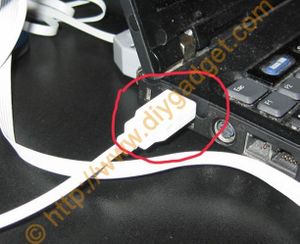
- Plugin the USB header to your computer's USB port.
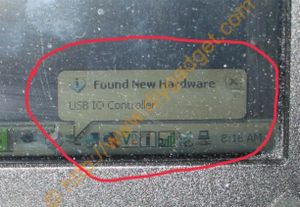
- Your Windows XP will report that a new USB IO device was found.
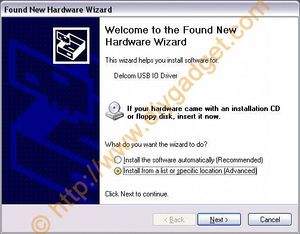
- Windows will popup the "Found New Hardware Wizard" window, to allow you to install driver for it. Select "Install from a list or specific location (Advanced)" and click 'Next' button.
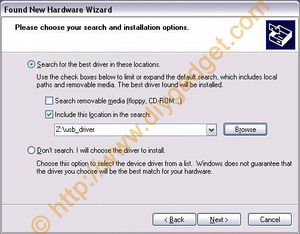
- Select "Include this location in the search" and fill in the location of the USB driver. Then click 'Next'.
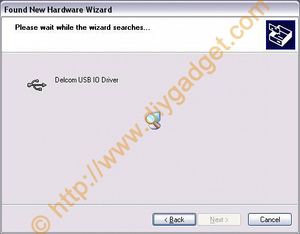
- Windows finds the Delcom USB IO Driver.
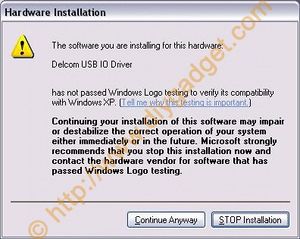
- Click "Continue Anyway" if Windows popup the following dialog.
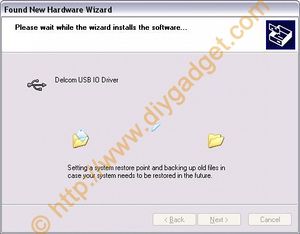
- Windows continues to install the driver.
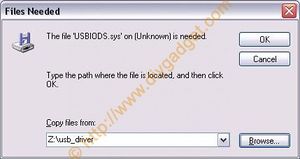
- Input the location of "USBIODS.sys" file. In my example, it is z:usb_driver.
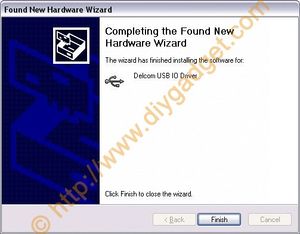
- USB IO driver installation is finished. Click 'Finish' button. line up with the notches, then squeeze the two halves together until both retainer loops snap over the ribs and lie falt against the sides. Make sure pin 1 on the PCB is connected to the pin 1 on the IDC connector (identified by an arrow as shown on the picture). See picture for details.
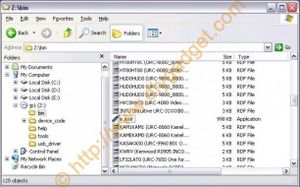
- Open your windows explore, locate the ir.exe at your CD-ROM's bin directory. In my example it is z:bin.
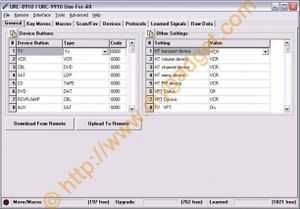
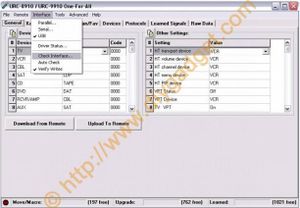
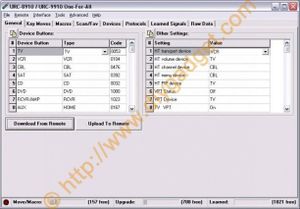
- Launch ir.exe, you will see the main interface of ir.exe.
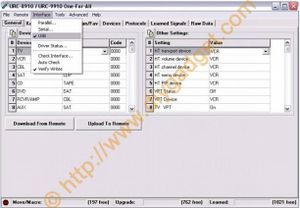
- Click 'Interface' on the top menu and make sure 'USB' is selected.
- From the same menu, click on 'Check Interface...".
- A small dialog pops up, double check your connections and click 'OK'.
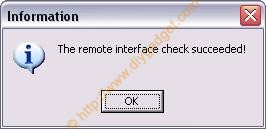
- Another dialog pops up, it indicates that the interface check is successful.
- Now you are ready to use IR.exe to download / upload code to your remote control.
Buy Communication Cable for Universal Remote Controls from http://www.easymg.com or http://www.diygadget.com

10 PCS, 10cm x 10cm, 2 layers prototype for $38.80 shipped!
