Difference between revisions of "Xbox 360 Lite On DVD Key Dumping - TIAO's Serial Key Extractor"

10 PCS, 10cm x 10cm, 2 layers prototype for $38.80 shipped!
| Line 36: | Line 36: | ||
[[http://www.llamma.com/xbox360/repair/Xbox-360-Disassembly.htm How to disassemble XBOX 360 case]] | [[http://www.llamma.com/xbox360/repair/Xbox-360-Disassembly.htm How to disassemble XBOX 360 case]] | ||
| + | |||
== Step 2: Remove Lite-On DVD drive back cover == | == Step 2: Remove Lite-On DVD drive back cover == | ||
Revision as of 22:07, 21 December 2008
Contents
Why you need to extract the key?
The newer XBOX 360 comes with lite-on DVD drive. It is impossible do dump the firmware from these lite-on DVD drives. However, a new method was developed so you can at least extract the DVD key / identification from these lite-ons. You can then use the key/identification to spoof iXtreme and flash the spoofed iXtreme to a SAMSUNG/LG/BENQ or even the original Lite-on (after Dec 24/2008).
Lite-On DG16D2S
This drive started to appear in machines manufactured after 20th April 2008 (2008-04-20).
Here is how to figure out whether you have a lite-on or not:
- Remove XBOX 360 front Faceplate
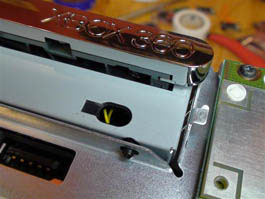
- See which colour the wires are in the hole under the DVD Tray
- Yellow wires: you have lite-on DVD drive
- White wires: you have BENQ drive
You can also search on [XBOX 360 DVD Drive Database] for more information.
How it works
Basically, you will need to perform the following steps:
- Disassemble XBOX 360 (Remove Lite-on DVD drive from XBOX 360)
- Remove Lite-on DVD back cover
- Extract DVD key and identification strings
- Prepare spoofed iXtreme firmware
- Flash the spoofed firmware to a BENQ/SAMSUNG/LG or original Lite-on
OK. Let's get started!
Step 1: Disassemble XBOX 360
There are tons instructions on how to disassemble XBOX 360, you can follow these instructions:
[How to disassemble XBOX 360 case]
Step 2: Remove Lite-On DVD drive back cover
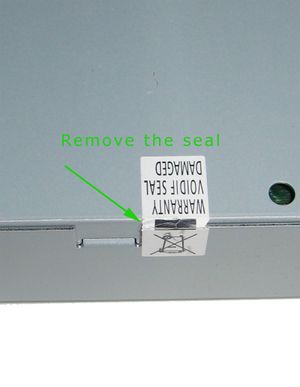
Put the DVD drive on a table, locate the seal on the side of the back cover, use a utility knife to cut the seal:
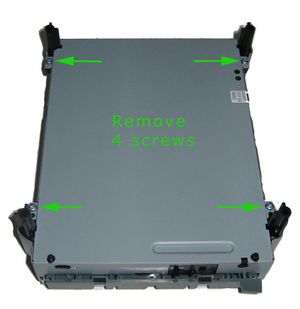
Locate the 4 screws on the DVD drive, remove these screws:
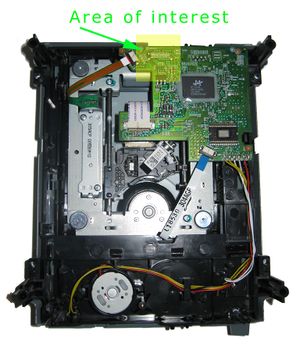
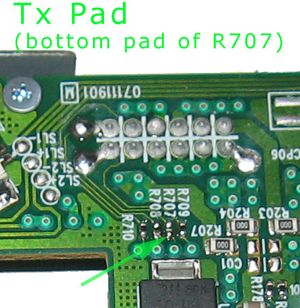
Remove the back cover and get familiar with the area we will be working on:
A closer look of the area we will be working on. We will be working on the bottom pad of R707 as shown in the picture below:

10 PCS, 10cm x 10cm, 2 layers prototype for $38.80 shipped!
