Install Western Digital SATA Hard Drive to Your XBOX 360

10 PCS, 10cm x 10cm, 2 layers prototype for $38.80 shipped!
Contents
Buy Game Console Adapters from http://www.easymg.com or http://www.diygadget.com
What is this?
You own a XBOX 360 Arcade... after a month of ownership, you quickly realized that you missed a lot of features because you don't have a HDD for your Arcade!
There are lots of good articles talking about what you are missing without a HDD. In summary:
- Cannot download Xbox Live® downloadable content
- You cannot play original XBOX games without a HDD
- Cannot save music and audio files
- ...
However you need to pay $150 to get a 120G HDD from MS! Not to mention that a 120G SATA HDD only cost your around $40!
You cannot just pop in a notebook SATA HDD to your arcade, because the XBOX 360 HDD has special security bit in it. Your xbox 360 won't read any HDD without this security bit. The second thing is, you need a HDD enclosure for your to attach the HDD to your XBOX 360.
Fortunately, thanks to hddhackr, a tool provided by TheSpecialist (TS), it can write the XBOX 360 HDD security bit to some Western Digital HDD, so you can use it in your XBOX 360. We have also stocked the XBOX 360 HDD enclosure (include all the hardwares).
In this tutorial, we will show you how to flash a Western Digital HDD to work with XBOX 360, then we will demonstrate how to install HDD to the enclosure we have provided online (at http://www.easymg.com and http://www.diygadget.com).
The total cost to have a $120G HDD for your XBOX 360 is only $70 - $80! That's almost 50% savings!
OK, let's get started!
Hardware and software
The following are required hardware and software for your to perform this work:
- XBOX 360 (Any XBOX 360)
- Any Western Digital WD-BEVS SATA 2.5 inch hard drive, for example, WD1200BEVS 120G HDD.
- XBOX 360 HDD enclosure, available at http://www.easymg.com
- Access to a SATA port (native SATA port from your mother board, or VT6421a PCI-SATA controller, available at http://www.easymg.com
- Hddhackr 0.91, download from here. (V1.0 is buggy, we found 0.91 is the most stable version)
- HDD security bin file. There are 3 security bin files available, 20G, 60G and 120G. You need to get one for your size of HDD. However, if you have larger size, you can use the lower size security bin file, and the available size is the size specified in the security bin file. XBOX 360 120GB HDDSS can be downloaded from internet. You can google it.
That's all.
Western Digital Scorpio™ HDD
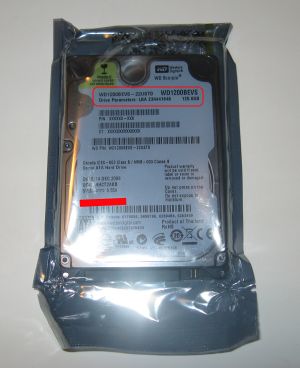
In this example, I am going to show you how to flash the security bit to WD WD1200BEVS 120 GB SATA Hard Drive.
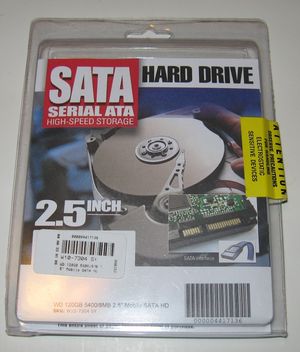
This is the HDD I bought from TigerDirect:
Make sure the model number is WDxxxxBEVS. This is the only supported HDD at this moment. The model number is visible on the back:
Preparation
Hddhackr runs in native DOS (not DOS prompt in windows). You need to create a writeable bootable DOS media, e.g. bootable floppy disk, or bootable USB key. Please flow the instructions here to prepare a writeable and bootable medial.
After the bootable media is ready, copy Hddhackr to the bootable media, also put the HDDSS.bin (downloaded from internet) in the same directory as hddhackr. Make sure the bootable media is writeable, because hddhackr will need to write to it.
If you don't have access to native SATA port on you PC, you need a PCI to SATA controller, buy it from http://www.easymg.com.
Then install it to your PC by following the instruction here.
Flash HDDSS to Your WD HDD
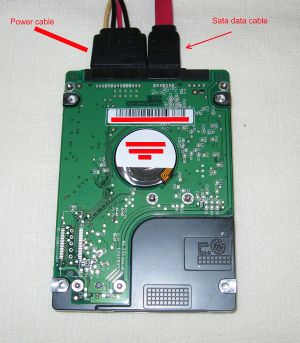
Turn off your PC, connect you HDD to your PC's SATA prot via a SATA cable, and connect the power cable to it as well:
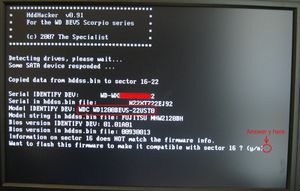
Turn on your PC, and boot from your bootable media, e.g. floppy or USB key. After it is booted, run hddhackr -f from command line, you will see something similar to this screen:
Answer yes to question: "Want to flash this firmware to make it compatible with sector 16?" Then answer yes to question: "Do you want to create an undo file?". (I forgot to take a screen shot of this, sorry!)
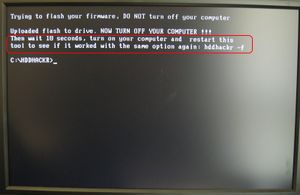
After a couple seconds, you will see this:
Now, turn off the PC and wait at least 10 seconds. I mean power off. Restart it without powering it of is not going to work!
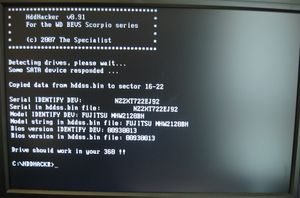
I waited 20 seconds, just to be sure... then boot to the same bootable media to verify the flash by typing hddhackr -f again to verify:
It's confirmed that the HDD is flashed successfully. Now, you save the bootable media to a safe place. You need to use the same disc to restore your HDD to work with your PC because it contains undo files.
Install the HDD into the XBOX 360 HDD Enclosure
The HDD socket on XBOX 360 is a special socket, you need a HDD enclosure to connect your HDD to your XBOX 360. You can buy the brand new HDD enclosure from http://www.easymg.com.
Open the package, you will find the following items in your package:
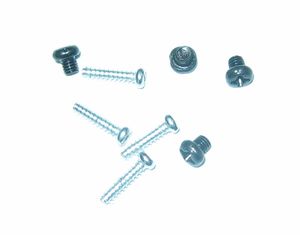
It has everything you need, including the screws:
The screws are Phillips crosshead screws, they are not special ones.
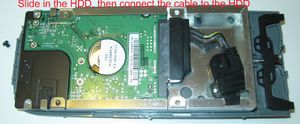
Now, don't connect the cable to the HDD yet, you need first slide in the HDD into the enclosure, then connect the cable:
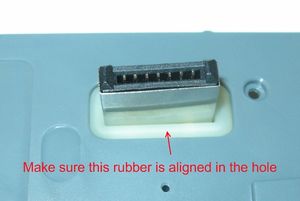
Then, make sure the white rubber is aligned in the hole of the connector as shown in pic below:
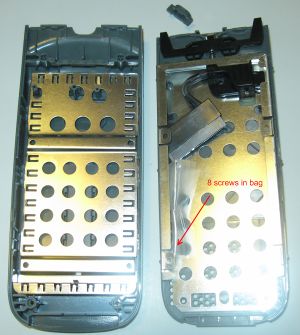
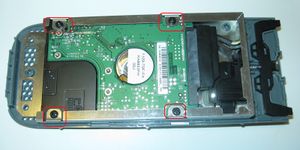
Then push the HDD into it's position and install the screws:
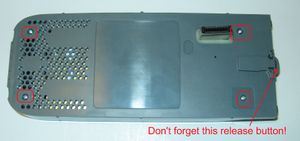
Put them together, and install last 4 screws, then you are ready to attache it to your XBOX 360!
Attache HDD Enclosure to XBOX 360
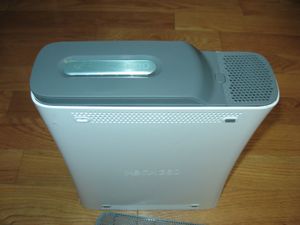
In my example, I attache it to a Arcade, but it applies to all xbox 360s.
Power off your XBOX 360 first. Remove the power plug from the back of your xbox 360.
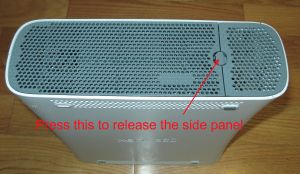
Remove the side panel by press the release button:
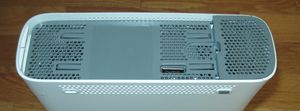
Side panel removed:
Firmly attach the HDD enclosure to your XBOX 360:
Format the HDD in XBOX 360
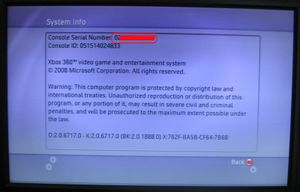
Before you format the HDD in xbox 360, you need to write down the XBOX 360 serial number. You can find it by either look at the back of the machine, or access it from System menu:
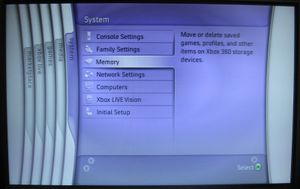
Now, connect power cable of your xbox 360, and power on it. Navigate to System -> Memory menu, select it:
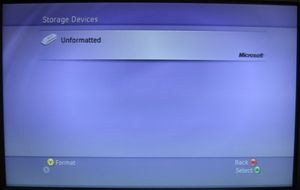
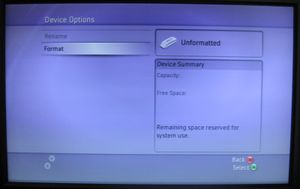
You will see this screen. Press Y to format it:
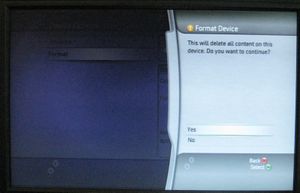
Answer yes to confirm format:
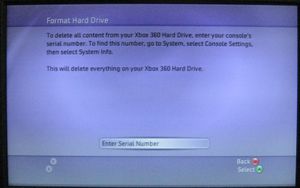
Answer yes to enter the serial number:
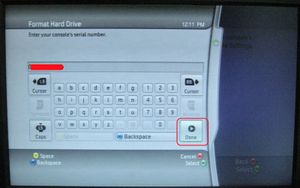
Fill in your console's serial number in the box, then highlight the Done button, and then press A:
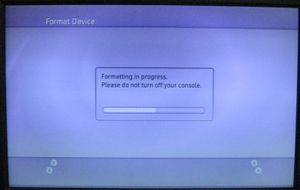
Format in progress:
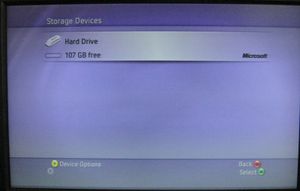
Format finished:
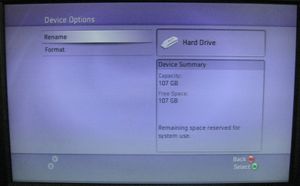
Check the device, it's confirmed that you have just added a 120G HDD to your XBOX 360!
Buy Game Console Adapters from http://www.easymg.com or http://www.diygadget.com

10 PCS, 10cm x 10cm, 2 layers prototype for $38.80 shipped!
